


If you haven’t heard, a few months ago, Microsoft released a brand new free tool called Power Automate desktop. As long as you have a Windows 10 (soonish to be 11) license, you can install this and get it all rolling for you. Today, we are both going to take a look at the new UI, and what we can do with the desktop version of Power Automate.
Installing
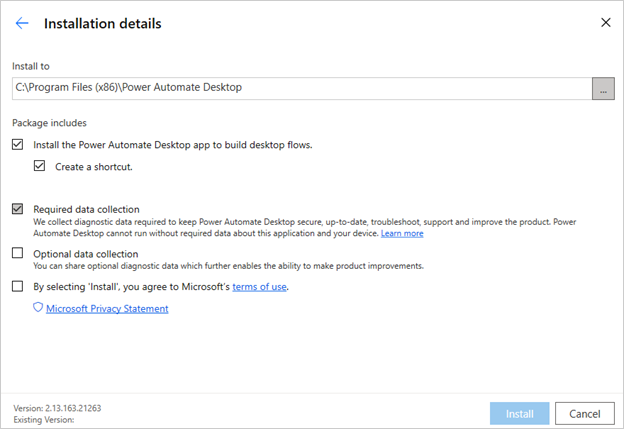
The first step is going to be installing our desktop application. You can download it here. Once you have clicked on the link. Once it has been downloaded, click on the installation file, and just like any setup, you can select where you would like it to go, what kind of data collection you want Microsoft to have, and finally, agreeing to Microsoft’s Terms of Use.
Now that you have it installed, open up your application, and sign in using your Microsoft 365 account details. It may take a few minutes for the initial setup to run through.
At First Glance
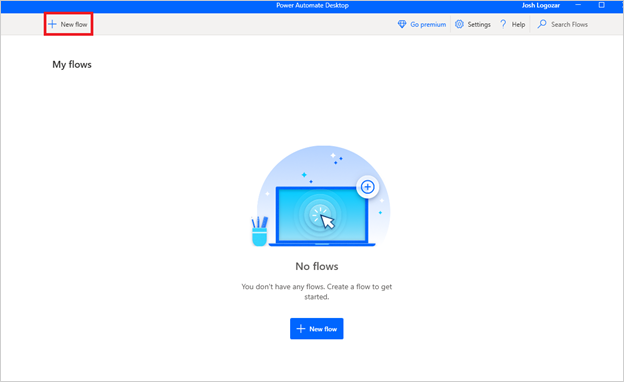
Once it's all set up and good to go, let’s crack this thing open and see what is under the hood. We are going to start by clicking on New flow.
Just like the web-based application, we are going to name our flow. This one we can simply name "Test". Once it has been created, it will automatically pop up a second window with your Flow. You are going to see that this looks a lot more complex than the web version, with a ton of different actions that you can perform.
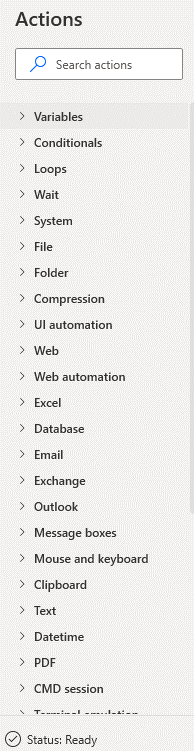
As you can see, there are tons of actions that can use data directly on your PC. It has moved past the ability to do things in only Microsoft 365.
Our First Flow
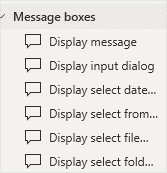
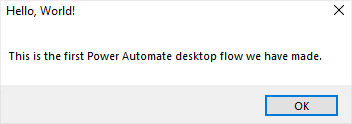
The first flow that we are going to make is just to display a message stating "Hello world". This is the standard introduction to any coding that you come across that allows you to create an output. We are going to start with hitting the Message boxes drop-down, and either double-clicking or dragging Display message into our flow.
Now you can fill in the box with all the information that you may need when this pop-up happens. Enter the title, the message to display, and you can change the settings on Icons, button, which button is the default, and even things like close automatically and keeping the message on top. You should also note that it is going to create a variable called ButtonPressed, which could be used for more complex automation.

You are done. You can now run your Flow by clicking the Run button on top, and it will feed you a little pop-up message with your selected settings.
Okay, But Why?
Why do we want more in-depth automation options? It is partially because automation in general is awesome, but it also just allows us to do more. A common file management system that I use in my day-to-day life is a folder that I will put any document or application (usually installers) that I won’t use again. I will manually go into the folder every day and empty it, and then empty my recycle bin, but with Power Automate desktop, that is already taken care of for me. I simply open it up and run the flow (if you go premium, you can automate this to a daily task), and it's done for me.
It was a simple flow that only took me 30 seconds to put together, and it now removes a daily task that usually takes me a minute or two to complete every night.

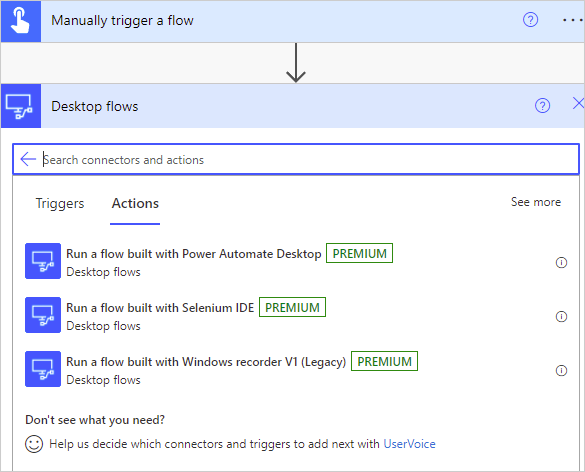
All in all, I feel that in combination with Power Automate web app, you are going to have the power to create so many different Flows that are going to be able to do some incredibly powerful things. You can even create flows in the web app that will run the desktop flows, so you can even dive a little deeper and run multiple flows into each other!
Note: There may be additional setup required by your administrator for you to be able to do this.
When I first looked at Power Automate desktop and became incredibly overwhelmed, I began just clicking away at things and noticing just how easy it is to use. It continues with the very simple click and drag style, and even lets you start using standard programming conditions such as "if" statements. This could be used for the flow we created that is If the folder is empty, send out a different notification. I see that there can be so many different uses, and I look forward to playing with it a little more.