


We are closing in to the end of August, which means that we are starting to think about getting back to real life. The kids are all ready to go back to school, your vacation time has been used up, and now you are starting to get to the nitty-gritty of getting back to your usual work weeks. There have been a few things in Teams that have been implemented while you were possibly away, or just catching up on a few other things. Here is the quick rundown of what came out over the summer (May, June, July, and August) in Teams.
Note: These may not have rolled out to your tenant yet, but keep an eye out for them.
Set Your Out of Office From Teams
The first thing that rolled out this summer was being able to set your Out of Office directly from Teams. To do this, you have two options. The first one is clicking on your profile picture, then set status message, and then clicking on Schedule out of office.

Once that is done, you will get a pop-up screen allowing you to change your message, select who will get your auto-reply, and what time period you want that set for.
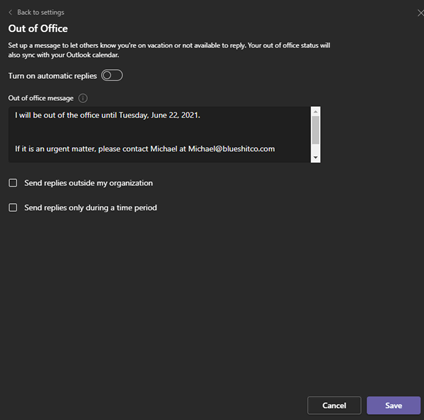
Once this is done, you are good to go on your vacation! You can also get to this by clicking on Settings, under General, and selecting Out of Office.

Just remember that if you haven’t scheduled the time for you to be away, that you turn it back on when you get back!
Manage Who Can Have Their Camera On in Meetings
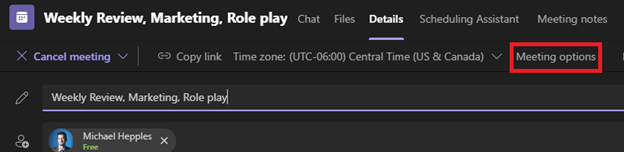
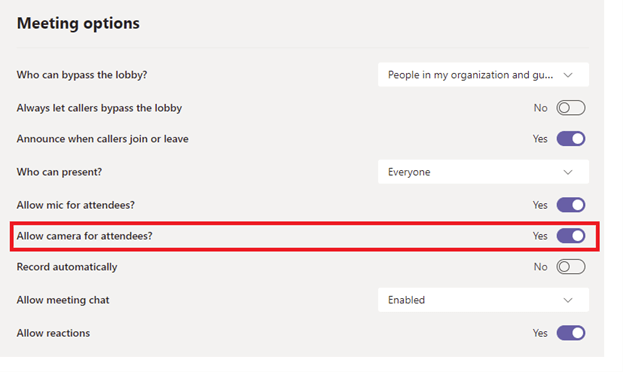
If you are the organizer of a meeting, you can now manage who can turn their camera on in a meeting a couple of different ways. The first way that you can do so is through your meeting settings. Just find the meeting that you have in your Calendar app of Teams, double click the meeting, and then select Meeting options. From here, you will notice a new button that is Allow camera for attendees. If you select No, then no attendees can turn their camera on. This can be used to maintain focus on the presentation and presenter.
The other way that you can do this, as an on-the-fly option, is to select the More options … beside the participants, and then select Disable camera for attendees.
Auto-record Meetings
Don’t ever worry about missing recording a training meeting ever again! If you are the organizer, you can just go back in your Meetings options, if you turn the Record automatically to yes, you will automatically start recording meetings as soon as they start. After it is done recording, you will be able to find it in the meeting chat and Microsoft Streams.
Note: Enabled by your SharePoint admin, so it may not be available to you.

Improved Content Sharing
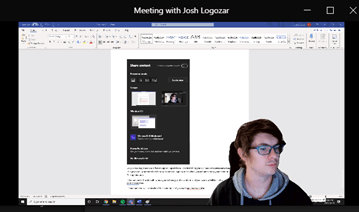
There is also now a more improved content sharing experience for your Teams meetings. They have redesigned the UI to make sure that you will share only what you want, when you want to, with a better experience. The new dashboard is going to look like this:
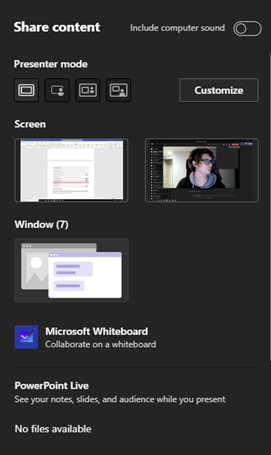
As you can see, there are a few things to unpack here. The first thing you will see is the Presenter mode. This gives you 4 options for where your camera is going to be when you are presenting your content. The options are:
- Content only: The default, where you will see just the content, and your camera will be in the participants' tray.
- Standout: Your camera will be inside of the content as if you were green-screened in.
- Side-by-side: Your camera will be beside your content, allowing for equal focus on you and the content at hand.
- Reporter: You will be able to give your best reporter attempt. Your content will be in the top right of your screen.

You will also notice how they have changed the organization of content sharing. The first two options for you will be your Screens. This will show everything on your screen, so it is a good choice if you are flipping through multiple things that you would like to show.
Below that, you will see the Window option, and this will give you all of your windows that are currently open to share. Use this if you are looking to only share one specific piece of content, and do not have the intention of moving anywhere else. Click on the Window, and you will see all of your currently open windows.

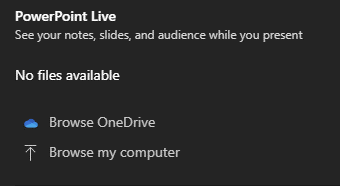
PowerPoint Live
PowerPoint live is a feature added in March that will allow you to present and interact with your PowerPoint directly inside of a Teams meeting. All you need to do to access this is open your PowerPoint. If you do not see your presentation in the list, simply import a PowerPoint from your OneDrive or PC. To do this, simply click on the Browse OneDrive, or Browse my Computer.
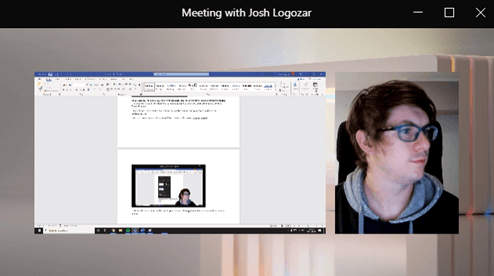
From here, you can open your file, and you will then see your presentation. You can use the arrows to move forward and back, and all the other functionality while everyone else will see it live. No more opening your PowerPoint, clicking through, and not having everyone that will be able to follow. You will also notice that you can see all of your notes. This will not be seen by the attendees, so you can enter your presentation notes on this.
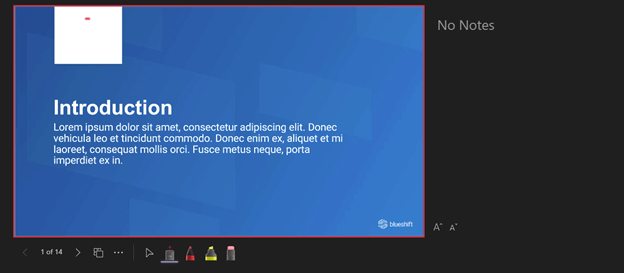
The final part about PowerPoint live I will point out, is that the attendees will be able to go through the slides on their own. If you would like them to not do that, you can simply click on the eyeball at the top of the present bar, and they will be locked into the same slide as you.
Locking Your Meetings
The last thing that we are going to touch on that rolled out is the ability to lock your meeting. This will block anyone that may try to enter your meeting late, limiting interruptions, and ensuring that the focus stays with the presentation. To lock your meeting, give everyone a few extra minutes, then in your Participants list, click the … and select Lock the meeting. People that try and enter after will receive a notification that the meeting has been locked.

More Features to Come
As you can see, Microsoft has rolled out quite a few things. You can always stay on top of what is new and upcoming by checking out their roadmap. If you ever have any questions about what the upcoming features can do for you, or you would like some training on it, reach out to us by email, or on Linkedin, and we will happily answer any question that you may have.